
 |
| It's A Boy! Baby Shower Gift Basket |
Something personal & creative.. and ohh, sooo easy to do!
We gave one of my sister-in-Christ a lovely baby shower for her first child weeks back. Aside from planning the party, I thought of giving her something special & personalized - a Baby Shower Gift Basket.
I had tons of fun doing it. Best of all, my sister & her husband loved the goodies! Congratulations again to Pau & Emjay!
Here are the Steps on Making a Baby Shower Basket:
 |
| Baby goodies from Baby Company, SM |
1.Plan - choose the theme & set the budget for your DIY project. I picked a blue, yellow & green theme since my mommy-to-be will be having a baby boy.
2.Shop - there are alot of baby shops in Metro Manila, but the most convenient & price-friendly for me is Baby Company in SM Department Stores.
3.Prepare your materials - basket, tape/ glue gun & glue sticks, ribbons, Japanese paper, other accessories, and the baby goodies.
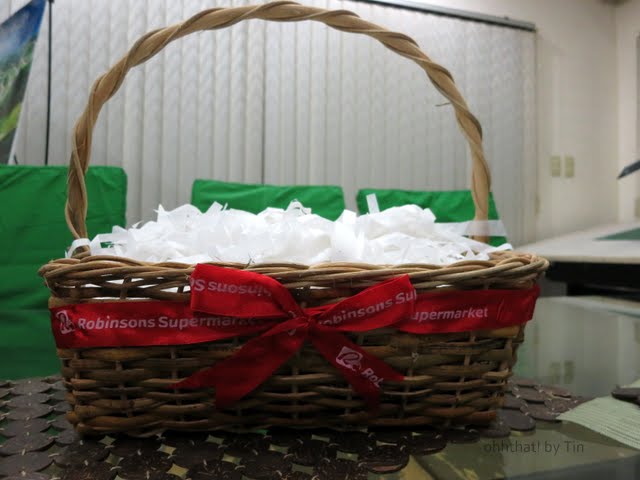 |
| I re-used a basket H received last Christmas. Saved me some bucks & time to prep it! |
4.Prepare the basket - depending on the basket you will use & the goodies you will put in, put some boards/ fillers inside the basket so that your goodies will pop out. Cover this with Japanese paper for nice finish. Place the ribbons or whatever accessories you would like to put on the basket before filling it up with goodies.
 |
| Bongga! Matching pa nail polish ko! :) |
5.Place the goodies - be creative! Just remember to tuck everything firmly either with tape or glue to avoid displacement especially when transporting it.
 |
| I added some blue paper flowers to accentuate. Cute! |
6.Cover up w/ clear plastic - tape the plastic at the bottom for a nicer presentation. If you have the gadget they use for sealing gift baskets in the groceries, go ahead and use it!
 |
| Final product! |
7. Put a card or a personalized note - make sure it matches the theme! :)
How creative!!! 2 thumbs up! I like your blog!
ReplyDeleteForever Nineteen
@Chari-thanks dear :-)
ReplyDelete